Dreamy Room Level 243 Walkthrough
In Dreamy Room Level 243, your objective is to establish a functional and aesthetic fashion atelier by strategically placing various furniture and decorative elements. Follow this step-by-step guide to ensure your setup is both creative and harmonious.
Step-by-Step Guide
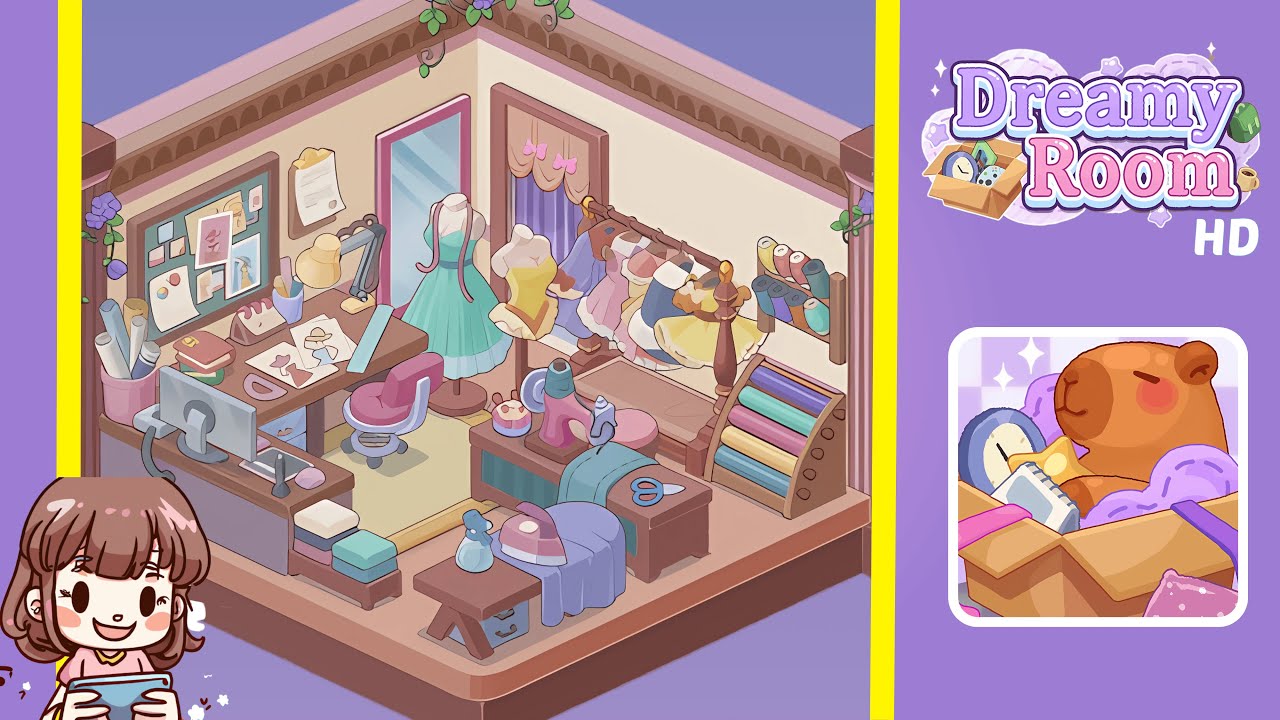
- Place the large L-shaped wooden desk in the left corner of the room, aligning its longer segment along the left wall for optimal workspace layout. Set up the computer monitor, keyboard, and graphics tablet on the desk.
- Arrange the inspiration tools on the desk: mount the bulletin board at eye level on the left back panel, attach the schedule calendar beside it, and place an adjustable gold desk lamp in the right corner.
- Position two dress form mannequins near the center of the back wall, leaving a tile gap for a potential rotating platform. Place the full-length mirror to the right of the mannequins, flush against the wall.
- Install a wooden clothing rack along the right wall, two feet below the ceiling. Hang pastel dresses in alternating colors with precise spacing for a vibrant display.
- Set up a sewing machine table in front of the central bench, leaving legroom. Arrange a pink sewing machine, pincushion, and fabric swatches on the tabletop, with fabric shelves and tools nearby.
- Add final touches: drape flowering vines along the wall tops, scatter spools and fabric scraps on the bench, and place the ironing station near the front center with a neatly folded cloth.
Notes & Precautions
- Ensure grid alignment to prevent improper snapping of items.
- Limit object adjustments to maintain a high harmony score.
- Check size and orientation indicators, especially when placing dress forms.
- Quickly use the undo function to rectify accidental overlaps.
Tips & Tricks
- Secure large furniture first before smaller decor to create a foundation.
- Save your layout post-step three to experiment with final touches safely.
- Use two-handed placement to lock alignment when dragging vines or spools.
- Rotate objects by 90° before positioning to reduce micro-adjustments.