Dreamy Room Level 335 Walkthrough
Welcome to the Dreamy Room Level 335 walkthrough. Follow this detailed guide to create a bustling café diorama by carefully positioning each element and using subtle touches to enhance realism.
Step-by-Step Guide
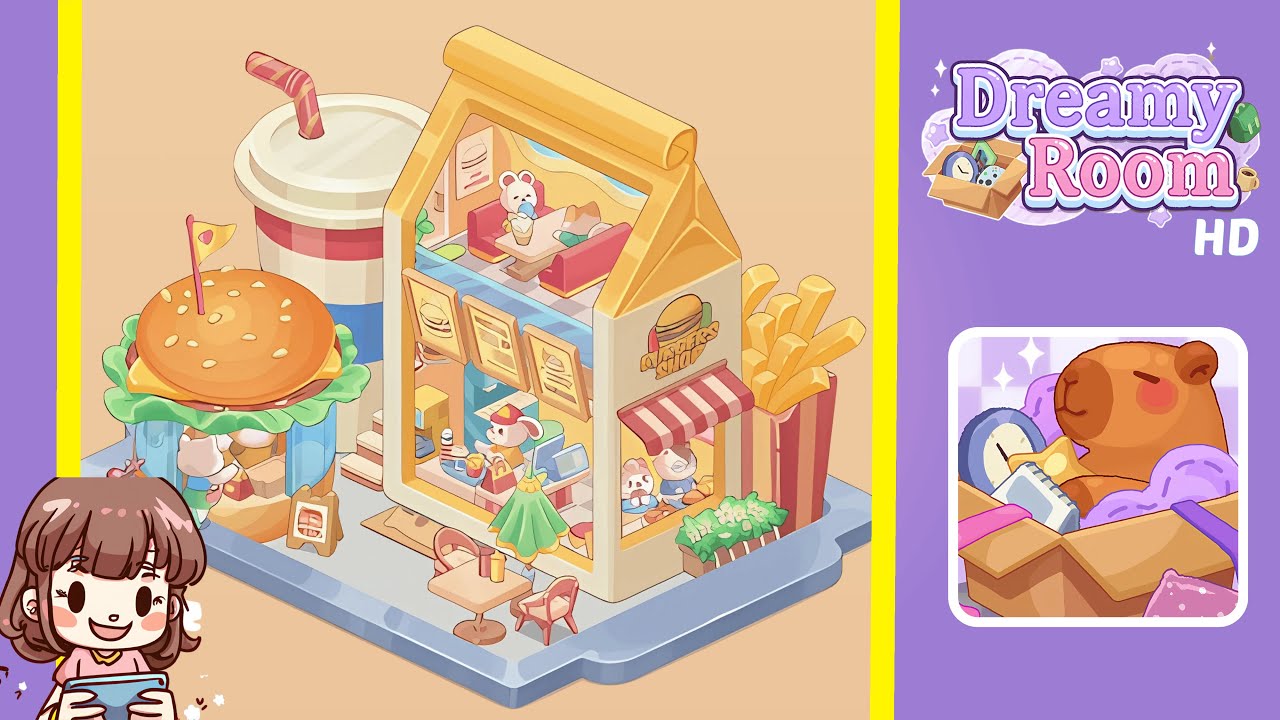
- Place the large rectangular blue tray base centrally in the scene, ensuring it occupies the lower two-thirds of the play area with handle-like notches facing the bottom-right corner. Maintain full margins to avoid visual clipping of objects placed too close to the tray edge.
- Add the house-shaped back wall (yellow exterior, pale orange left inner wall) onto the previously placed checkered floor tile in the rear-center quadrant. Align the base with the tile's back edge and position the triangular roof curl facing upward-left. The interior pink-and-white checkerboard should fit precisely inside the wall’s base.
- Insert the two-story burger shop building element into the house-shaped wall opening. Position the cashier figure, tray of fries, red benches, small bear and cat characters, and the ice-cream cone at respective locations inside. Ensure framed menus hang evenly on the interior wall above the counter.
- Place the giant burger kiosk with lettuce skirt and the large striped drink cup on the left-front quadrant of the tray. The kiosk should open to the walkway, and the drink cup should be staged slightly behind, creating depth. Add small indoor shelving, visible snack boxes, and the "Burger" chalkboard on the tray.
- Add the tall fries box at the tray’s right-front edge, slightly above the house midline, and the outdoor table with a green umbrella in front of the house facade. Position condiments, a doormat, a red scooter, and potted planters at intended spots to maintain neat composition and pedestrian accessibility.
- Populate the scene with characters and accessories. Inside the shop, place the bear and the relaxed cat figure. Set the bunny cashier at the register with items on the counter. Outside, position figures near the burger kiosk counter and various props to emulate a lively café diorama.
Notes & Precautions
- Use nudges and grid snaps to align objects precisely as overlapping or misaligned items can break the isometric illusion.
- Ensure proportionality: the fries box must be taller than the house’s lower window but not taller than the roof, and the drink cup should be larger than the kiosk’s counter.
- For translucent or semi-transparent props, arrange layers so the glass sits in front of background tiles but behind foreground props.
- Character placement should be last to avoid overlaps. Keep clearances for shadows to render correctly.
Tips & Tricks
- Begin with the largest anchors like the tray and wall, then progress to smaller props to maintain harmony.
- Duplicate and place commonly used props as a group for consistent spacing, speeding up placement.
- Use subtle rotations and micro-offsets to add organic variety, making the scene appear hand-crafted rather than computer-generated.
- Save incremental snapshots after placing major zones to avoid having to rebuild the entire scene if misplaced.
- Reference the tray grid and ensure all object bases sit on the same grid plane to solve many placement issues.