Dreamy Room Level 331 Walkthrough
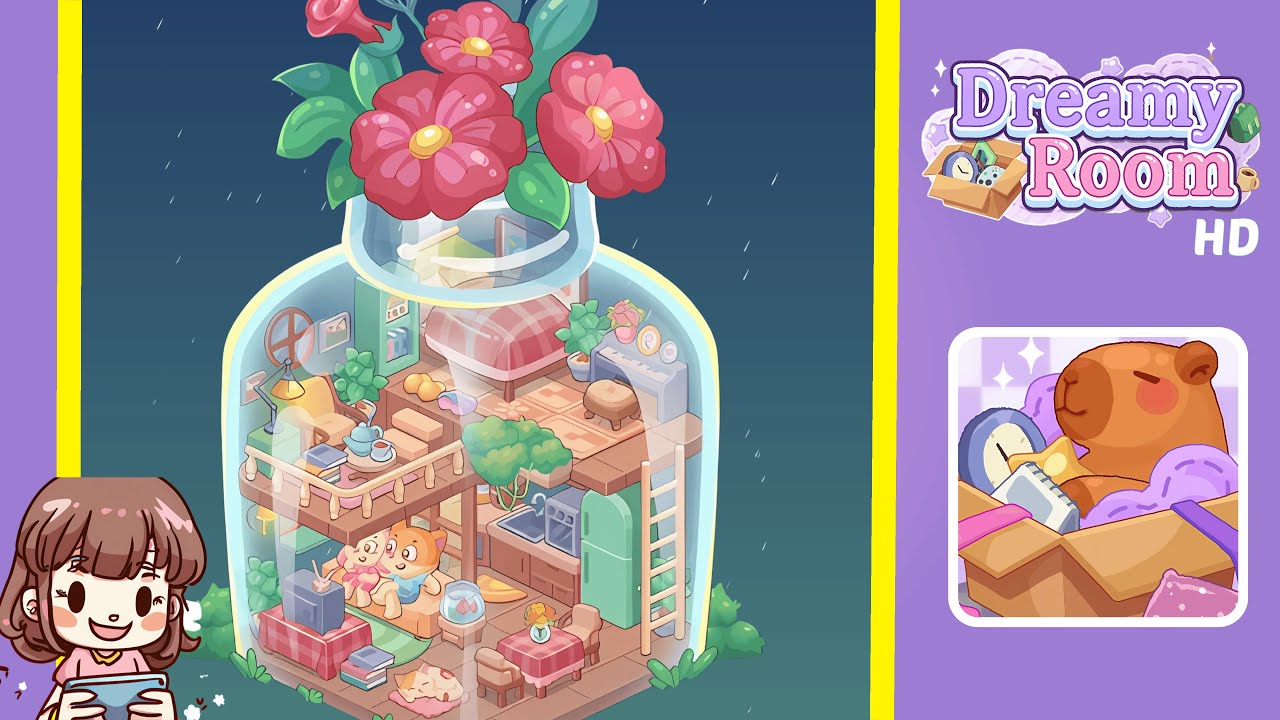
Explore Dreamy Room Level 331, where meticulous arrangement inside a glass jar creates a cozy, story-rich living space over two levels.
Step-by-Step Guide
- Place the tiled floor and surrounding grass at the base. Begin by centering the terracotta tiled floor on the jar base. Arrange small grass clumps at all four outer corners, ensuring alignment with the jar’s glass edges.
- Build the lower living area: couch, TV, books, fishbowl, and sleeping cat. Position the couch with seated characters facing the TV, add side and TV tables, and complete with a sleeping cat on a rug.
- Add the lower-right dining nook and kitchen modules. Arrange the dining table, kitchen counter, and fridge, ensuring the fridge does not interfere with the loft ladder alignment.
- Construct the loft and balcony living area (left side). Build the loft platform, add a cozy armchair, side table, lamp, and plants ensuring alignment with the lower level.
- Place the ladder, central tree, and vertical accents. Position the ladder for upper access, add a potted tree, hanging plants, and framed pictures for depth and balance.
- Outfit the upper bedroom: bed, rug, pillows, piano, and bedside accents. Arrange the bed, piano, and decorative items to create a cozy, crowded space.
- Top ornament: neck opening and floral crown on the bottle cap. Arrange a floral cluster above the jar neck, ensuring it appears as an exterior cap ornament.
- Final polish: small plants, lighting, and reflections. Add decorative details, adjust lighting, and manage reflections to complete the warm, lived-in atmosphere.
Notes & Precautions
- Precision matters: Exact placement is crucial for maintaining the isometric illusion.
- Watch layering order: Place background items before foreground furniture to avoid occlusion errors.
- Scale consistency: Maintain consistent item scales to preserve the composition's balance.
- Save before large rearrangements: Regularly save your progress to easily revert when necessary.
- Lighting and reflections: Preview with reflections enabled to ensure items are properly visible.
Tips & Tricks
- Work from the back forward: Start with back walls, then add medium furniture and small decor.
- Use nudging tools precisely: Align loft supports and the ladder with small-step movements.
- Mirror-check: Flip the scene occasionally to spot asymmetries through the glass.
- Group similar pieces: Place all plants, then soft furnishings, then electronics to prevent scale drift.
- Save presets: Duplicate items like books and cushions for consistent sizing.