Dreamy Room Level 162 Walkthrough & Guide
Transform an empty case into a cozy artist's retreat in Dreamy Room Level 162. Carefully follow each step to place every component in its precise slot, creating a warm and inviting space.
Step-by-Step Guide
- Place the base floor panel inside the open case. Open the hinged lid, detach the empty tray, and position the floor panel with two rectangular cutouts along the back edge. Ensure the panel’s notches align with the case walls and press down gently on the front edge.
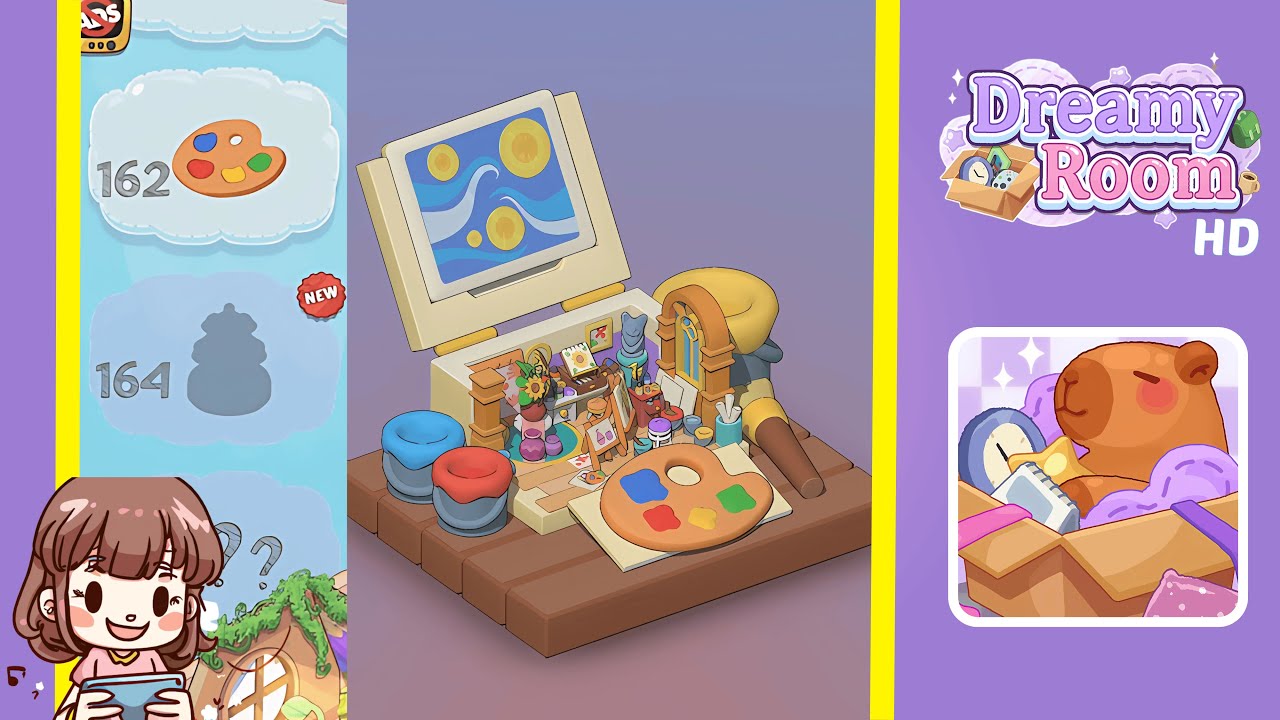
- Insert the paint palette panel into the front slot. Find the rectangular paint palette piece with paint splotches and a thumb hole. Slide it into the front slot of the base until the tab clicks into place.
- Attach the digital canvas display to the back lid. Locate the white-framed digital canvas and align its bottom tab with the back lid's recess. Press until it clicks.
- Position the central art desk module at the back center. Find the art desk module with paint jars, brushes, and a drawer, and slot it into the back center of the base panel.
- Set up the miniature easel in front of the desk. Place the tiny wooden easel with a blank canvas into the vertical groove directly in front of the art desk module.
- Arrange the stackable pot seats on the left side. Stack the blue-topped and red-topped ceramic pots on the left side of the floor panel.
- Place the plush beanbag chair on the right side. Align the yellow beanbag’s flat bottom with the circular recess on the right side of the floor panel.
- Position the decorative archway next to the desk. Align the sculpted archway's lower tabs with the grooves on the base panel and press down gently.
- Add the cat sculpture bust on its pedestal behind the desk. Place the cylindrical pedestal in the circular hole to the right of the art desk, then set the cat bust on top.
- Decorate with vases, brushes, and framed paintings. Arrange the sunflower vase, ceramic vases, paint jars, paintbrushes, rolled canvases, and framed paintings around the desk and on the back wall.
Notes & Precautions
- Precision is key; ensure each piece clicks into its corresponding groove to prevent misalignment.
- Verify each placement before proceeding, as errors can disrupt subsequent steps.
- Use gentle pressure when assembling pieces to avoid damage.
- Clear your workspace to prevent losing small parts.
- If needed, refer to the outline of slots in the base as a placement guide.
Tips & Tricks
- Lay out all pieces in the order you’ll place them for a streamlined workflow.
- Organize components by size to visualize spacing.
- Use tweezers for handling small items to reduce the risk of smudges.
- Experiment with slight rotations of angled objects for a more natural look.
- Pay attention to subtle guide ridges for easier snapping of pieces.
- Group similar items to quickly place them in clusters.