Dreamy Room Level 167 Walkthrough & Guide
Welcome to the comprehensive guide for Dreamy Room Level 167, where every object's position matters in recreating the finished scene.
Step-by-Step Guide
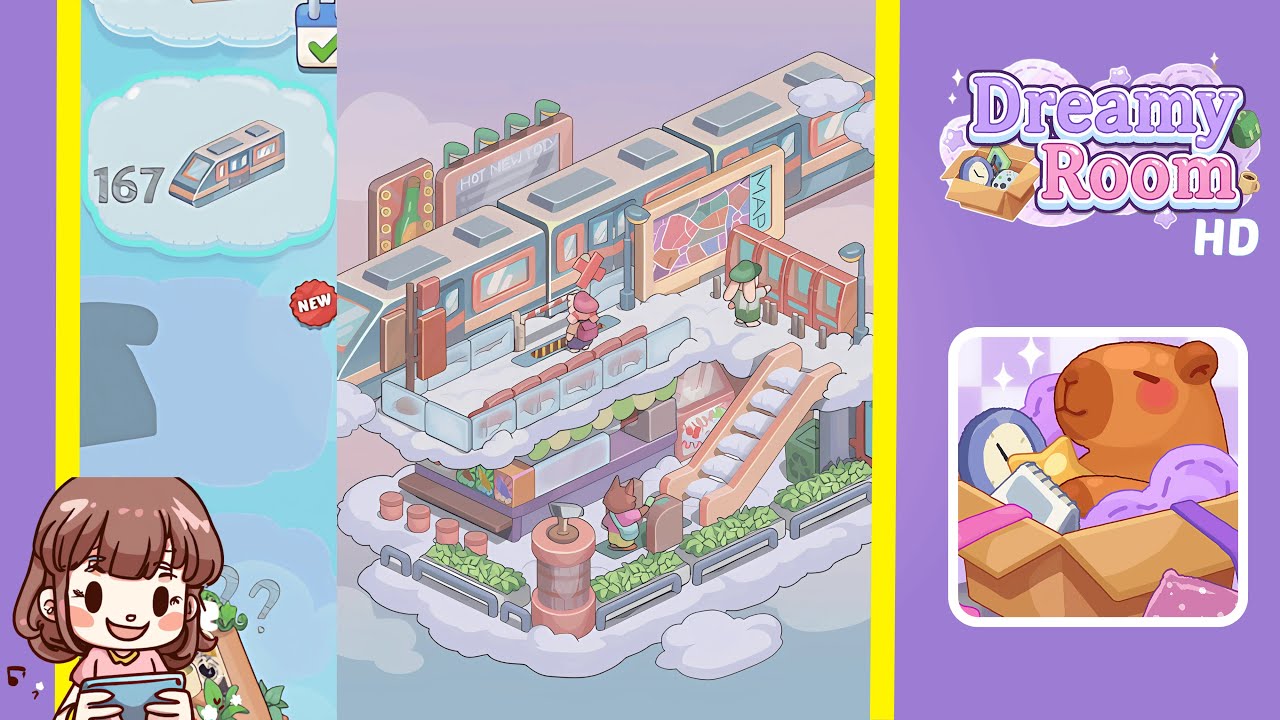
- Place the Pastel Gradient Wallpaper and Cloud Decals on the Back Wall: Align the wallpaper with the ceiling and smooth it without air pockets. Add cloud decals two inches from each corner.
- Place the Cloud Platform Floor Tiles: Position the base cloud tile centrally and add accent tiles to create floor continuity.
- Add the Monorail Track and Train Carriages: Align the track with the platform's edge and add carriages while ensuring they face inward.
- Position the Signage, Seating, and Kiosks: Place signs and benches according to specific guidelines to enhance functionality.
- Install the Escalator, Planters, and Decorative Fixtures: Align the escalator correctly and fill space with plants and beverage machines.
- Add Boxes, Cloud Accents, and Character Figures: Place decorative items and figures in the specified grid cells for the perfect finish.
Notes & Precautions
- Double-check alignment markers before confirming placements to avoid shifts.
- Be careful with the snapping feature; it may rotate items if used too aggressively.
- Place items deliberately to avoid lag-induced off-grid movements.
- Ensure cloud floor tiles are seamless to unlock subsequent decor categories.
Tips & Tricks
- Activate the grid overlay before placing items for pixel-perfect alignment.
- Use the undo function immediately if an item is misplaced to maintain continuity.
- Pre-select similar items to reduce navigation time when new categories unlock.
- Frequently save your layout to prevent potential glitches.