Dreamy Room Level 140 Walkthrough & Guide
Dreamy Room Level 140 presents an enchanting autumn campsite scene that requires precise placement of items to capture the essence of cozy outdoor living. This guide will help you navigate through each step to achieve the perfect setup.
Step-by-Step Guide
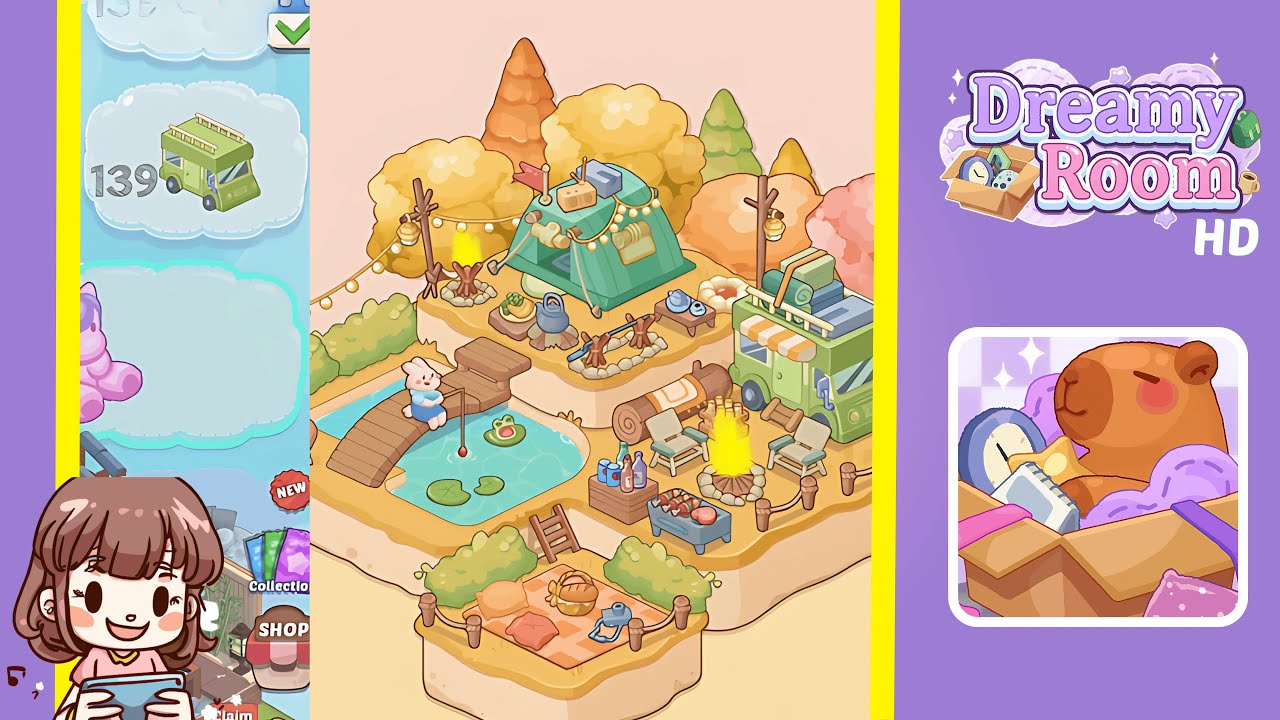
- Place the forest-green tent on the central elevated platform. Ensure the tent's entrance faces the player's viewpoint for balance, aligning it until a soft glow confirms the correct placement.
- Install the string lights above the tent, draping them across the platform's top from the left tree stump to the right pole, forming an arc over the tent.
- Set up the primary campfire on the platform's left side adjacent to the tent, ensuring the flames face outward.
- Place the pastel-green camper van on the platform's right edge with its front facing slightly outward. Ensure the wheels align with the platform's edge.
- Arrange two wooden lounge chairs and a secondary bonfire on the platform's right side in front of the camper van, creating a lounging area.
- Add the curved wooden bridge to the left of the lower platform, bridging the gap to the pond's edge. Place lily pads and a bunny figurine for natural and engaging placement.
- Position the autumnal trees behind the elevated platforms to form a colorful canopy, ensuring proper spacing and interlocking crowns.
- Create a picnic area on the lower front platform with green hedges, a picnic blanket, colorful pillows, and a wicker picnic basket.
- Arrange decorative items like lanterns, logs, and bottled drinks to fill the scene naturally without overcrowding.
- Finalize with additional lanterns, a small table, and subtle details to complete the warm, inviting autumn tableau.
Notes & Precautions
- Precision in item placement is critical. Use zoom for pixel-perfect alignment and watch for the soft glow confirmation.
- Avoid overlapping shadows as they can detract from the immersive autumn aesthetic.
- Use the undo button for corrections to maintain the placement of nearby items.
- Ensure the bridge sits flush by adjusting its rotation slightly to lock in place.
Tips & Tricks
- Start with large anchor items to frame the space before adding smaller décor.
- Disable snapping grid overlays when placing string lights, then manually adjust for a perfect arc.
- Place trees last to adjust spacing without obstruction.
- Use rotate sparingly; minor nudges often suffice for alignment.
- If items refuse to snap, try placing them slightly off and nudge them into position.