Dreamy Room Level 199 Walkthrough & Guide
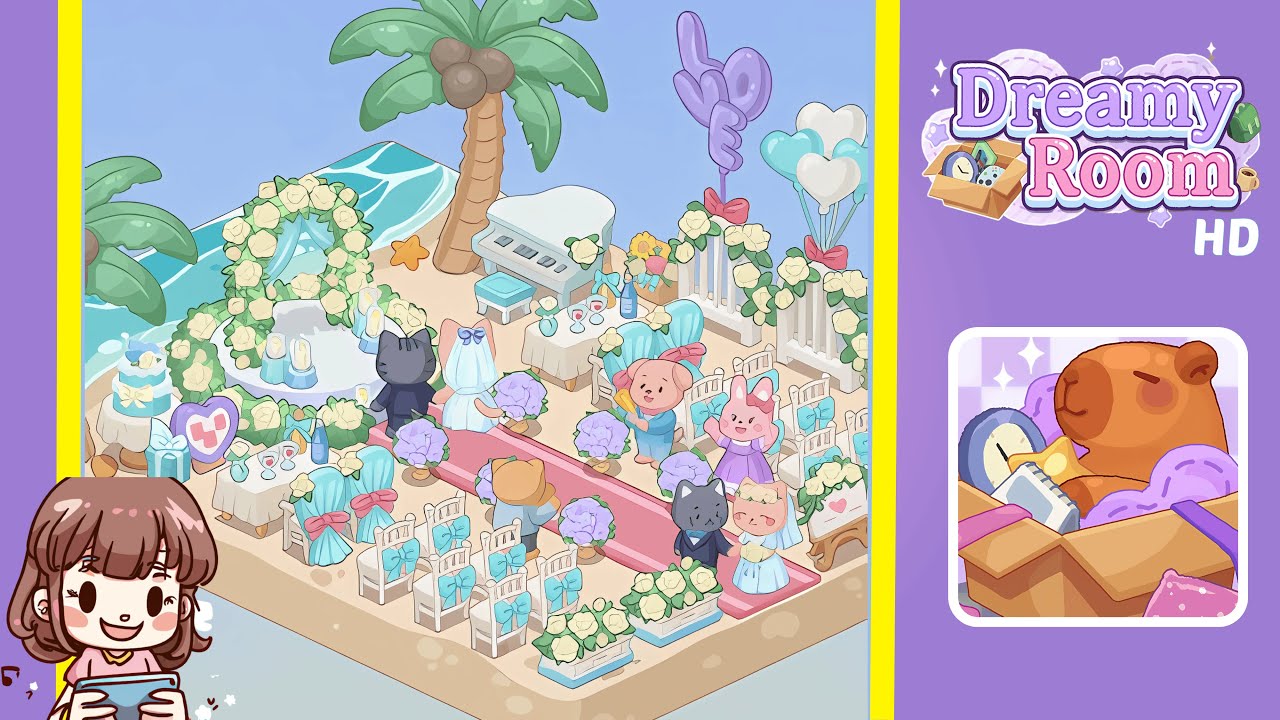
Welcome to the Dreamy Room Level 199 walkthrough. In this guide, we will help you set up a beautiful beach wedding scene with precise placement of decor elements to create a harmonious and visually appealing celebration. Mastering alignment and symmetry is crucial for achieving the perfect setup in this level.
Step-by-Step Guide
-
Place the water wave tile at the top-left corner of the level. Ensure it aligns perfectly with the boundary of the sandy floor, as precise placement is crucial for a natural look.
-
Position the first palm tree in the back-left corner, just to the right of where the water wave ends. The trunk should lean toward the center to frame the ceremony area.
-
Add a second palm tree at the back-center, between the water wave and the right edge, to create symmetry. Make sure both palms have consistent spacing from the back edge.
-
Drag the elegant white grand piano to the back-right corner under the second palm tree, and position the teal stool in front of it, keeping consistent spacing with other elements.
-
Center the large white floral arch adorned with roses at the back, between the palms. Place four candle pillars around it, ensuring even spacing to form a semicircle.
-
Lay out a red carpet down the center from the arch base to the front edge, flanked by pairs of purple hydrangea bouquets, leaving walking space in the middle.
-
Arrange white chairs with teal ribbons in two rows on each side of the carpet. Swap central chairs for teal-upholstered VIP seats near the front, ensuring symmetry.
-
On the left, set up the cake table with a pastel blue cake, a teal gift box, a heart-shaped photo frame, and a drink table with glasses and a bottle, keeping them balanced and uncluttered.
-
On the right, place the "L-O-V-E" balloons, heart balloons, rose planters, the heart-decorated easel, and a flower vase, maintaining balance with the left side.
-
Position the bride and groom under the arch, with guests like the grey cat and pink pig along the red carpet, ensuring they face the arch with enough space.
Notes & Precautions
- Verify item snapping to avoid overlaps or misalignments.
- Ensure symmetry, as slight off-centering disrupts the layout.
- Items cannot be rotated; plan layout directionally.
Tips & Tricks
- Start with large backdrop items and work forward to smaller accents.
- Use the "magnify" function for precise alignment.
- Save your layout after placing the arch and carpet to avoid re-adjustments.
- Mix and match group items to free up inventory space.