Dreamy Room Level 299 Walkthrough
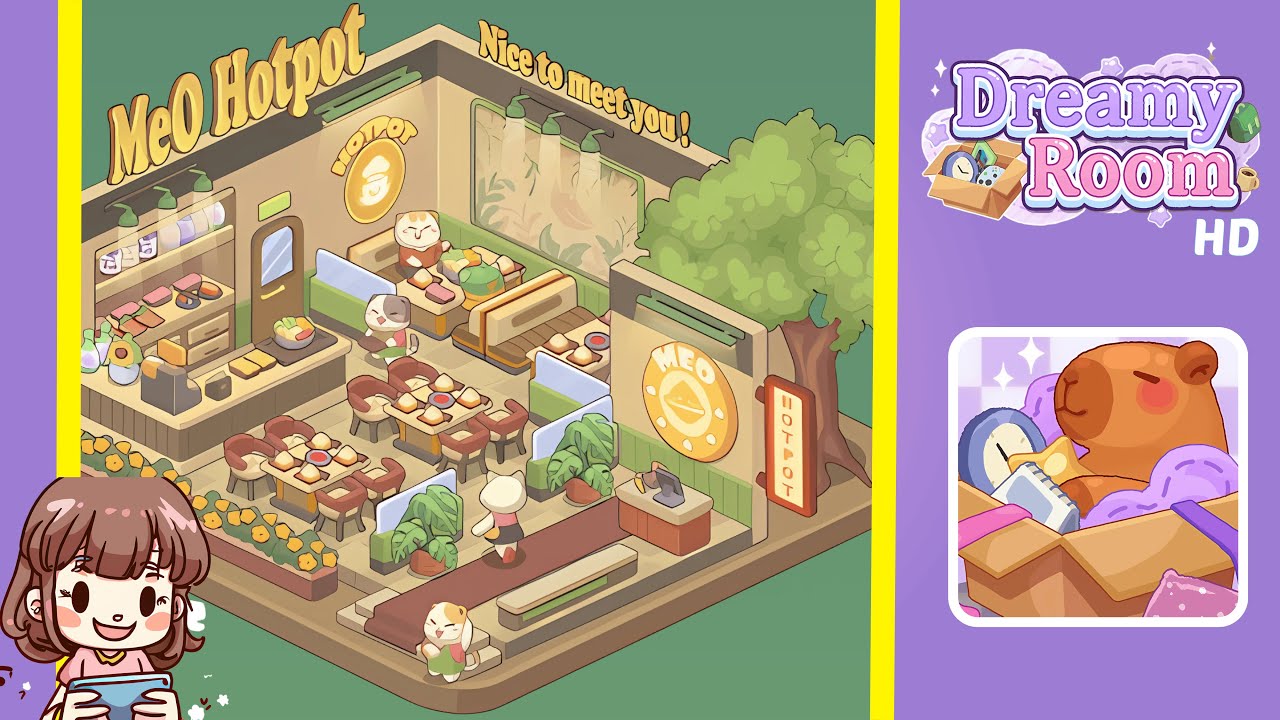
Welcome to the Dreamy Room Level 299 walkthrough. This guide will provide detailed steps to create a cozy MeO Hotpot shop with warm pastels and a tidy layout that invites customers inside.
Step-by-Step Guide
- Begin by placing the tiled floor on the base platform. Lay beige square tiles across the raised base platform, ensuring alignment from left to right and top to bottom, leaving a slim border at the edges. Adjust until seams align to set the scale for everything else.
- Next, erect the back and side walls with green wainscoting and add the left entry door. Align the pale green wainscoting with the tile grid, and adjust the recessed ceiling band to ensure the correct visual depth.
- Build the service counter and back shelf, complete with condiment jars and display trays. Align the counter front with the tile grout lines to maintain the flow of stools and tables.
- Place the central dining tables and chairs in a neat grid arrangement. Use consistent spacing of two tile gaps between tables, ensuring that chairs are angled naturally.
- Install booth seats along the back wall with a wall mural and overhead lights. Ensure the booths and lights are correctly aligned with the wainscoting and mural.
- Add exterior planters with yellow flowers, a tree, and signboards. Position the tree and signs to create a visually appealing exterior.
- Decorate with plants, a cashier desk, and small props. Align each element carefully with surrounding structures.
- Finally, place the characters, front steps, and other human-scale touches to bring the scene to life.
Notes & Precautions
- Patience with micro-adjustments is key — ensure each object contacts the floor or wall correctly.
- Preserve the pale green, teal, and beige color palette to maintain the scene's soft pastel look.
- Watch for occlusion to ensure visibility of important elements like logos and signs.
- Save incremental versions frequently to revert if necessary.
Tips & Tricks
- Build in zones: floor & walls, service counter, seating, exterior, then props/characters.
- Use a temporary low-opacity guide for initial alignment, then hide it for the final render.
- Prioritize large visual anchors before adding smaller details.
- Use two-tile spacing for tables and one-tile inset for counters for efficient placement.
- Step back often to ensure balanced negative space and clutter-free readability.