Dreamy Room Level 280 Walkthrough & Guide
Embark on an exciting journey through Dreamy Room Level 280, a vibrant tableau of action, culture, and atmosphere. This guide will help you navigate each critical step, ensuring the perfect balance of character placement, architectural precision, and aesthetic harmony.
Step-by-Step Guide
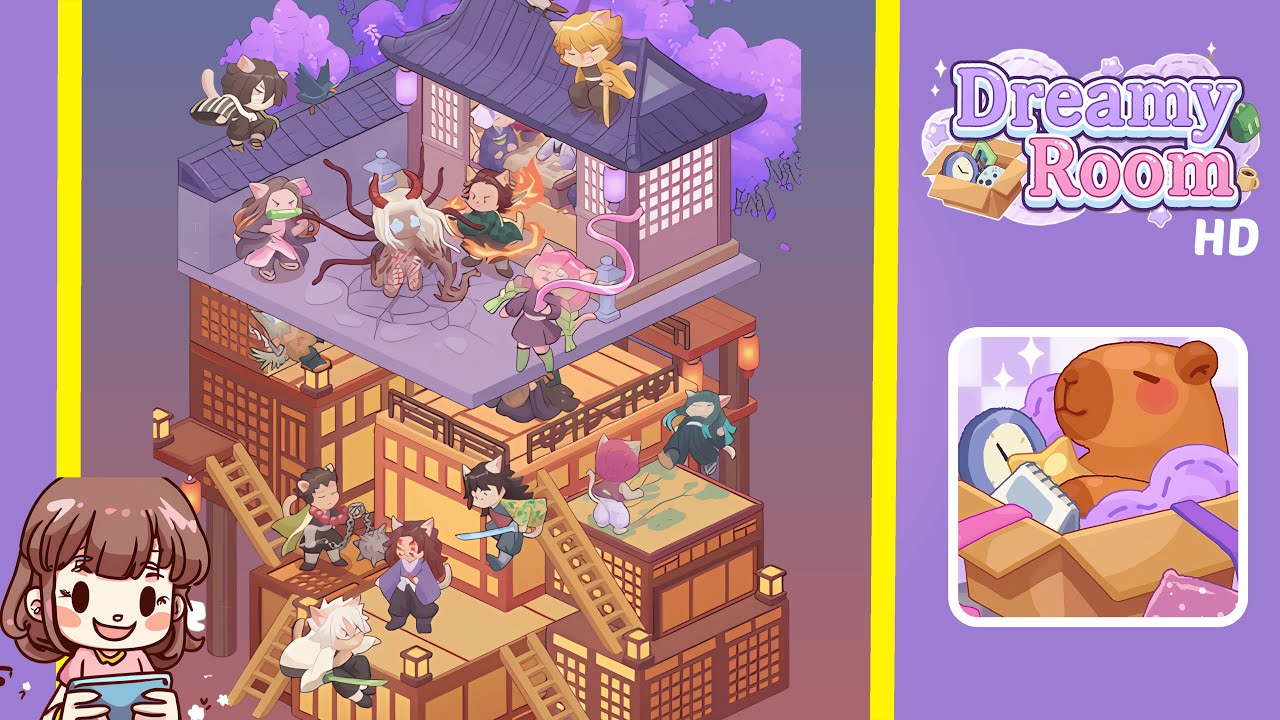
- Build the Multi-Tiered Foundation: Start by constructing the multi-tiered wooden foundation. Ensure each tier is perfectly aligned for the ladders to connect seamlessly, setting the stage for a cohesive scene.
- Add the Stairs and Lanterns: Attach the three ladders to connect the levels, followed by placing red lanterns along the left edge of the bottom structure. Proper placement prevents clutter and sets the visual rhythm.
- Place the Characters on the Bottom Tier: Arrange the starting characters on the bottom tier, ensuring dynamic and precise positioning to avoid collisions and maintain the level's dramatic energy.
- Populate the Middle Tier: Position characters here to create a narrative bridge, balancing the intensity below while leading gracefully to the top tier.
- Build the Rooftop Pavilion and Characters: Construct the Japanese pavilion and place characters to form a climactic battle scene. Balance rooftop characters with the presence of birds above for added motion.
- Add the Final Background Details: Complete the scene by placing purple wisteria trees and glowing lamps, ensuring a harmonious final aesthetic brimming with energy and storytelling.
Notes & Precautions
- Always align the wooden foundation before placing characters; slight misalignments can lead to issues.
- Avoid stacking characters too close to maintain the layered storytelling effect.
- Ensure lanterns are positioned before filling in characters to avoid visual glitches.
- The rooftop pavilion must be perfectly centered on the third tier to maintain perspective.
- Save progress frequently, as mistakes can be time-consuming to correct.
Tips & Tricks
- Work from the bottom up, completing lower tiers first to avoid overlaps.
- Use spacing markers to mentally divide tiers into grids for cleaner placement.
- Balance action and stillness for visual flow by alternating between active and relaxed characters.
- Place characters in pairs for symmetry and reduced clutter.
- Zoom in for precise lantern and stair alignment to prevent small errors.