Dreamy Room Level 228 Walkthrough
Welcome to the comprehensive walkthrough for Dreamy Room Level 228, where your journey transforms a simple space into a ship-inspired haven through strategic placements and a keen eye for detail.
Step-by-Step Guide
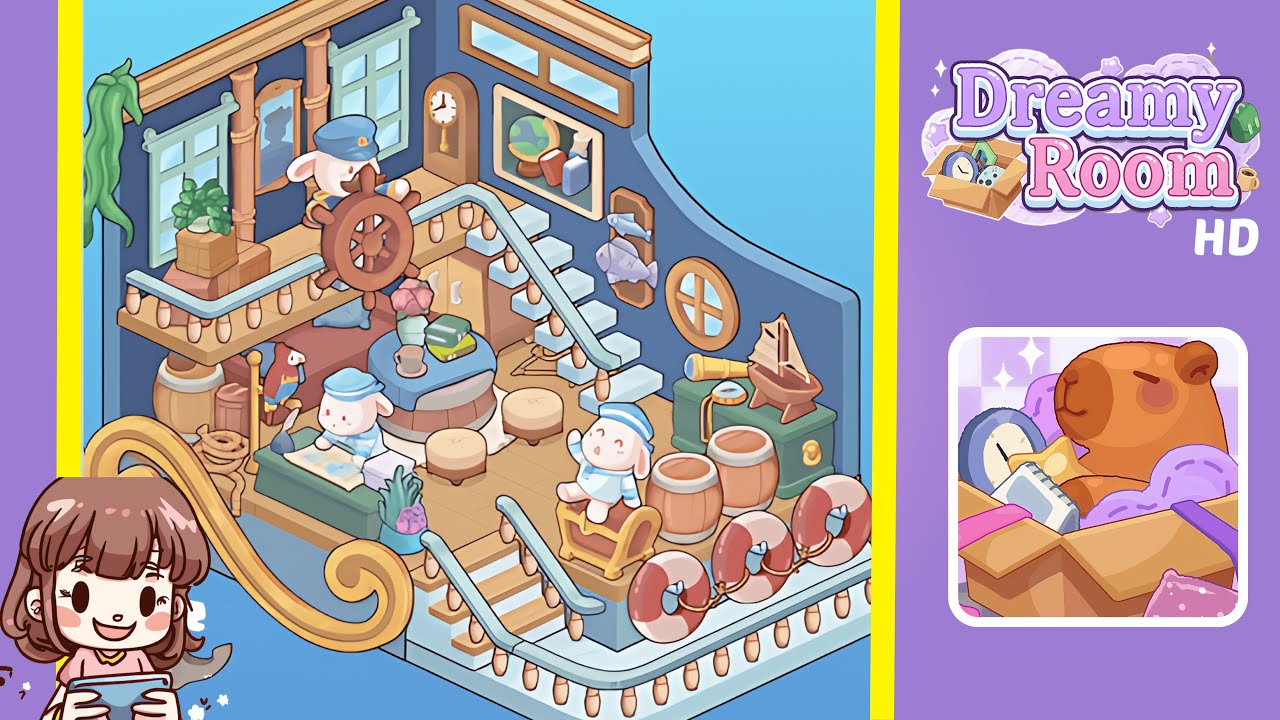
- Place the wooden plank floor. Begin by selecting light tan planks from the floor tile palette. Lay them seamlessly across the room, starting from one corner and working outward to avoid gaps or overlaps.
- Install the blue panel walls and top trim. Snap the deep navy-blue panels along the floor's perimeter and cap them with lighter cyan trim pieces, ensuring precise alignment for a polished look.
- Attach the staircase and decorative rail details. Position white stone block stairs and pale-blue rails, adding string lights and lifebuoys for a nautical flair.
- Install windows, columns, mirror, porthole, fish trophy, and hanging vine. Balance symmetry with organic elements, aligning each frame and accent flush to the wall.
- Position the captain's wheel, grandfather clock, and framed globe on the mezzanine. Arrange these key items with careful spacing to maintain a cozy yet uncluttered atmosphere.
- Arrange the lower deck furniture, décor, and accessories. Create an immersive scene with precise object positioning and layering, enhancing the ship's lounge ambiance.
Notes & Precautions
- Always check alignment by rotating the camera view to prevent cascading misalignments.
- Avoid snapping objects too close to edges to prevent the puzzle logic from rejecting them.
- If a piece won’t attach, backtrack one step and reselect the previous item to correct order-sensitive placements.
- Save progress frequently, as Dreamy Room Level 228 does not auto-save between major placements.
- Be cautious of performance lags on older devices due to multiple décor layers on-screen.
Tips & Tricks
- Toggle grid snap off for irregular objects to gain finer control over placement.
- Use multi-select drag for lining up repetitive elements, enhancing precision in assembly.
- Place large anchor pieces last to prevent interference with snap points for walls and rails.
- Tap-and-hold to rotate the porthole and fish trophy in small increments, avoiding awkward clipping.
- Memorize buffer zones around wall panels to quickly slot windows and columns without needing to zoom.