Dreamy Room Level 229 Walkthrough
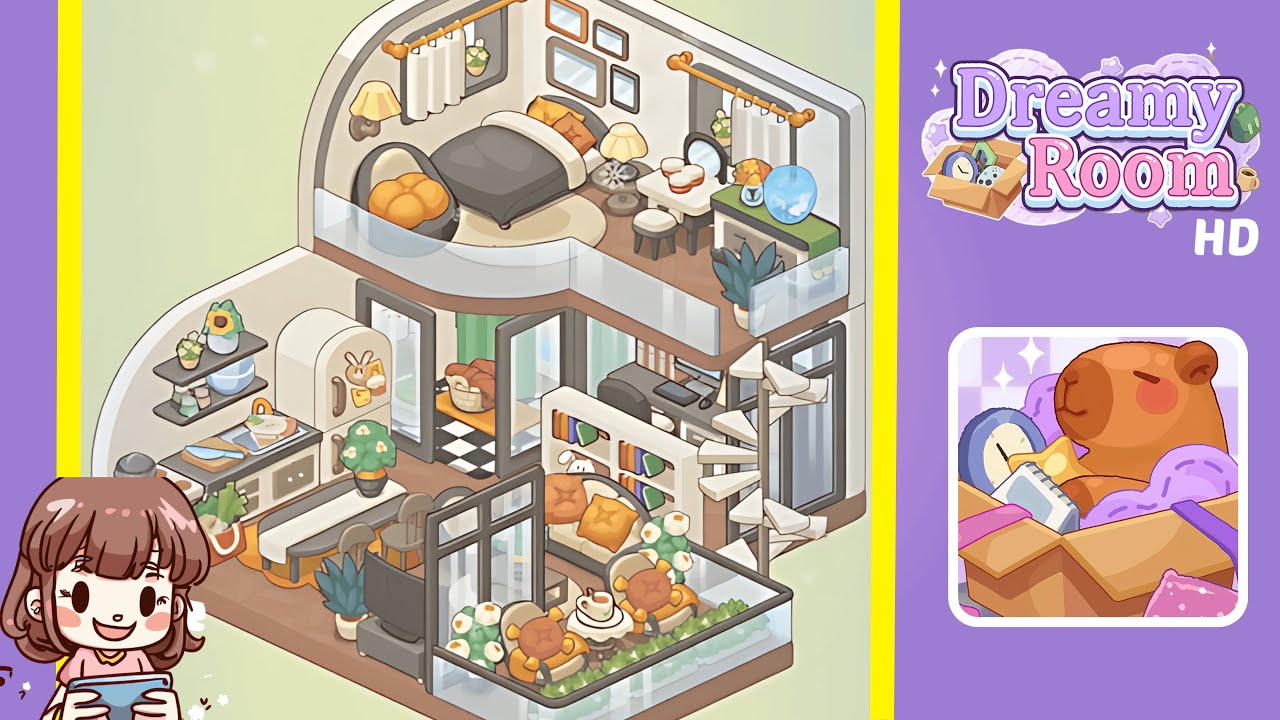
Transform Dreamy Room Level 229 into a harmonious two-story retreat with meticulous attention to detail. Follow these steps to create a cozy and inviting living space, perfect for relaxation and culinary delights.
Step-by-Step Guide
- Place the kitchen base module in the left corner on the lower floor. Ensure it lines up with the floor's edge to establish a neat cooking space.
- Add countertop details: Position a wooden cutting board with a half-assembled sandwich on the right end, a kitchen towel beneath, and a paring knife beside it.
- Install floating shelves on the left wall above the kitchen, placing decor items like a sunflower vase and pastel mugs.
- Position the refrigerator with magnets against the left-center wall, ensuring the right edge is flush, and decorate with a bunny magnet and sticky notes.
- Arrange a grocery bag with leafy greens and vegetables on the floor, touching both the floor and base module.
- Set up the dining area by placing a long white table with a bench and two stools, ensuring precise spacing.
- Build the entrance zone: Extend the checkered tile, set sliding doors, and add curtains. Place a wicker basket with bread loaves inside.
- Position the TV console opposite the dining table, add a flat-screen TV, and tuck a potted plant into the corner.
- Assemble a central bookcase divider to separate social and work areas and fill with books.
- Install a spiral staircase in the lower-right corner, carefully aligning its twist and height for smooth connection.
- Create a balcony retreat by affixing glass railings, placing chairs, a table, and decorating with plants.
- Furnish the office nook with a chair, desk, monitor, and keyboard, ensuring correct alignment.
- Lay out the upstairs rug and bed, centering the bed against the wall and arranging pillows on it.
- Finalize upper vanity and decor by placing the swivel chair, bedside table, a vanity set, and curtains, ending with wall decor above the bed.
Notes & Precautions
- Alignment Sensitivity: Objects snap into place only when correctly aligned; adjust until outlined in green.
- Sequence Matters: Follow steps in order to ensure all items are available.
- No Time Pressure: Relax and focus on precise alignment without haste.
- Collision Detection: Ensure items do not overlap or occupy the same space.
- Undo Function: Use the back arrow to correct misplaced items.
- Visual Cues: Look for glowing outlines and listen for snapping sounds confirming placement.
Tips & Tricks
- Grid Lock Technique: Utilize 45° rotations for faster grid locks.
- Item Preview: Hover over item icons to see their correct snap-points.
- Stack and Swap: Temporarily stack items on furniture then rearrange them.
- Camera Zoom: Zoom in to fine-tune placements and view hidden grooves.
- Audio Feedback: Use headphones to identify distinct placement sounds.
- Save Snapshots: Capture the layout at various stages to avoid rework.