Dreamy Room Level 216 Walkthrough
In Dreamy Room Level 216, you will transform an empty space into a beautifully decorated room by following precise arrangements and alignments. This walkthrough will guide you through each step to ensure a flawless setup.
Step-by-Step Guide
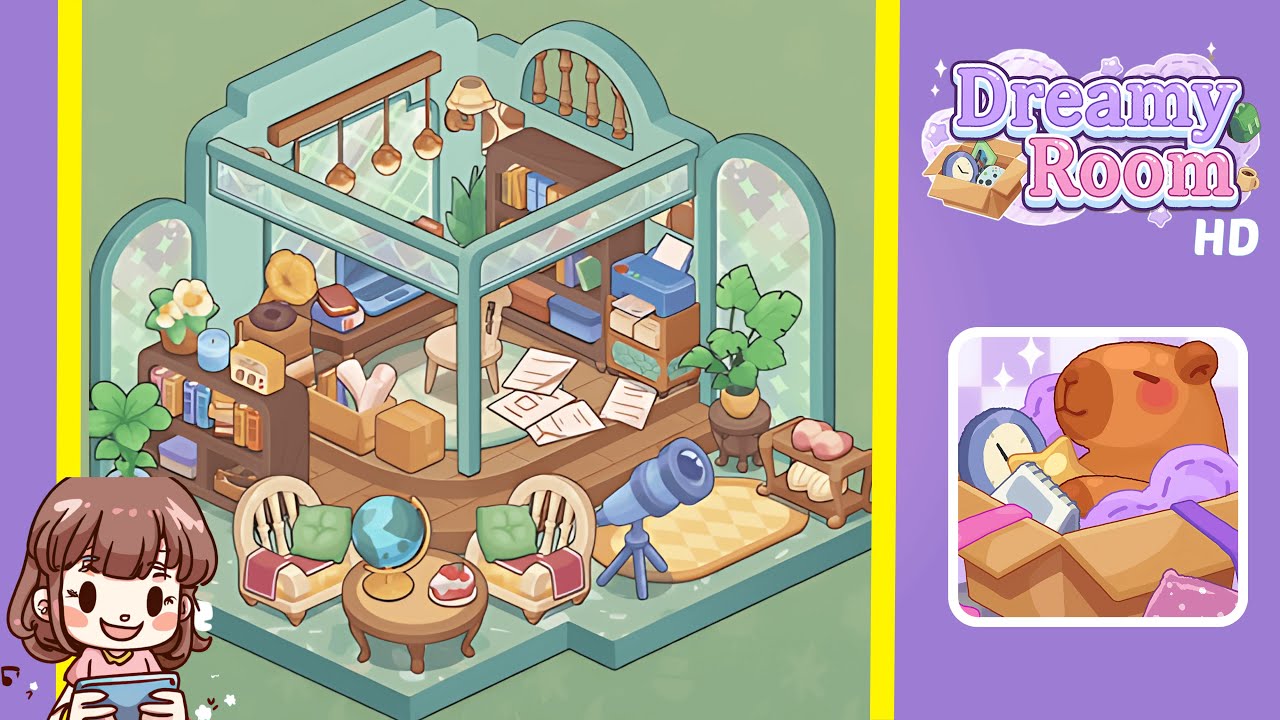
- Erect the arch-shaped pastel-green walls to define the unique alcove shape by slotting in two scalloped side walls and one curved back wall. Ensure each corner meets precisely at a 90-degree angle.
- Lay the terrazzo-patterned floor tile ensures it is flush against the interior wall seam, aligning the tile's front corner cutout with the base notch.
- Install the stained-glass windows in their respective frames, ensuring the side panels align with the wall's midpoint and the upper spindle window clicks into place.
- Mount the overhead and floor lighting fixtures by securing the wooden beam with copper bulbs in the ceiling groove and placing the floor lamp snugly against the interior wall niche.
- Position the main desk, laptop, and stool by aligning them with the back-left interior wall under the windows, placing the rug first, followed by the stool.
- Assemble the left open shelf and decorative trinkets, ensuring everything aligns neatly with the shelf's frame for balance and visual harmony.
- Configure the back-right bookcase and printer cart by evenly spacing shelves and neatly stacking books, aligning the printer and storage boxes under the cart frame.
- Scatter boxes, rolled papers, and documents on the platform to enhance the setting's charm with varying angles and overlaps.
- Arrange the front seating area with armchairs, coffee table, pillows, and blankets for a cozy and inviting lounge atmosphere.
- Place the telescope, side table, and potted plants to add the final touches, ensuring each component is securely clicked into place.
Notes & Precautions
- Ensure each element clicks securely into place to prevent unwanted shifting.
- Verify windows sit flush without gaps to maintain ambiance.
- Be careful with fragile items; avoid overlapping to maintain collision detection.
- Use the undo feature wisely to correct only significant alignment errors.
- Position base furniture before adding fragile accent pieces for stability.
Tips & Tricks
- Visualize the entire layout before placing any items.
- Start with base pieces like terrazzo floors and walls, then layer furniture.
- Use the undo button sparingly for critical alignment issues.
- Double-click edges to activate magnet snapping for precise placement.
- Zoom in on corners to reveal subtle alignment guides.