Dreamy Room Level 123 Walkthrough & Guide
Welcome to the definitive guide for Dreamy Room Level 123—a serene coastal cottage transformation that invites you to uncover its hidden charm. In this walkthrough, you will learn how to place every item precisely to reveal the fully decorated scene. The main challenge is discovering the correct spot for each object, so take your time and enjoy the process—there are no timers or penalties. Dreamy Room Level 123 encourages mindfulness and creativity with every placement, turning chaos into cozy order.
Step-by-Step Guide
- Place the Bunny Planter in the Window Box: The first essential placement is the Bunny Planter in the left window box. Select the small wooden planter with its white rabbit statue from your inventory and drag it to the left-side window opening. Ensure the planter snaps flush to the exterior wall, with the rabbit peeking over a lush green shrub. Aligning the planter posts with the window frame’s grooves is critical as misalignment can block subsequent items.
- Add the Circular Wooden Deck and Side Walkway: The next key element is the semi-circular deck that extends beyond the back wall over the water. Drag the circular wooden platform from your toolbox to the base of the back wall, ensuring the curved edge faces outward. After placing the main deck piece, focus on the straight walkway plank: snap it to the right side of the deck until the wood grains align seamlessly.
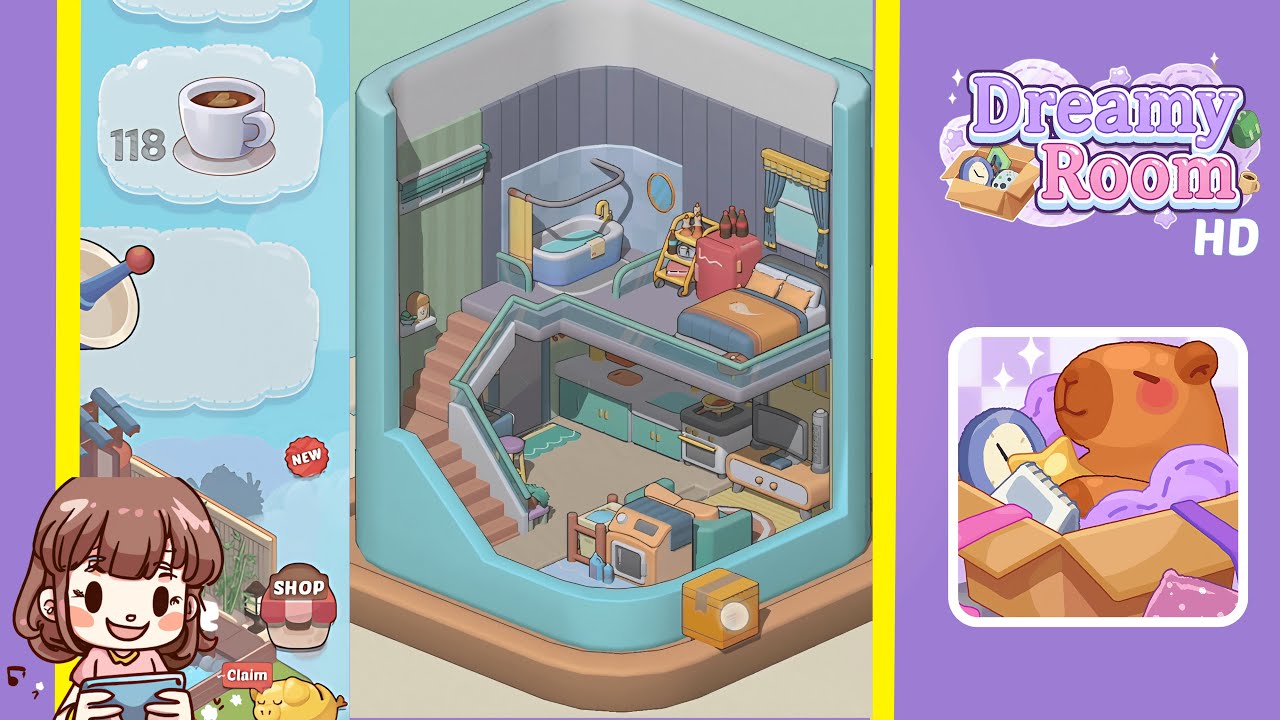
- Arrange the Kitchen Cabinets, Appliances, and Wall Decor: The cozy kitchenette takes shape with a modular cabinet set, microwave, clock, and framed picture. Place the three-door base cabinets along the back interior wall, spacing them evenly so that the countertop integrates seamlessly. Position the cream-colored microwave atop the leftmost counter section, directly below the clock. Hang the circular red-framed clock above the microwave and affix the small picture frame to the left of the clock.
- Set Up the Dining Table, Chairs, and Floor Cushions with Snacks: Assemble the dining nook on the circular deck by placing the small square table with a dark red tablecloth near the center. Add two pastel blue chairs facing each other. Place the decorative potted flower in the center of the table. Drag the plate of cookies, wine bottle, and two wine glasses onto the tabletop. Position the plush floor cushions under the table, arranging them symmetrically to add warmth.
- Install the Loft Bed, Ladder, and Cozy Accents: Begin by placing the wooden loft bed structure against the right back wall, above the kitchen cabinets. Align the bed’s support beams with the wall studs. Position the plush red quilted mattress and the large white flower-shaped pillow on the bed. Attach the ladder module to the front of the loft, and make sure none of the rungs float or intersect with the railing.
- String Lighting, Floral Arch, and Final Decorative Touches: Add ambient lighting and decorative flourishes. Drape the purple string lights along the railing of the circular deck. Hang the star-shaped fairy light garland across the interior wall between the picture frame and the round window. Place the rose-covered arch on the small walkway and affix the “CHILL” wooden sign to the right interior wall. Arrange the single green potted plant on the left corner shelf.
Notes & Precautions
- Pay careful attention to item alignment and rotation to ensure each object snaps correctly into place. A slight misplacement can lead to clipping issues.
- Use the placement guides that appear when you hover over a valid spot to avoid frustration.
- Avoid rushing through decisions; thoughtful placement enhances the charm of the game.
- If an object refuses to snap, try rotating it 15 degrees at a time for pixel-perfect precision.
Tips & Tricks
- Use the snap-to-grid indicator frequently to leverage built-in alignment aids.
- Pause and rotate items in small increments to discover optimal placement angles.
- Save your layout periodically by exiting fully, then returning to log your progress.
- Focus on grouping similar color schemes together to maximize visual harmony.
- Customize your camera angle before each placement for the best perspective on fine-tuning.