Dreamy Room Level 307 Walkthrough
Welcome to the Step-by-Step Guide for completing Dreamy Room Level 307. Follow this guide to create a visually appealing layout by arranging furniture and decorations with precision. Let's establish the look of the charming, theatrical lounge.
Step-by-Step Guide
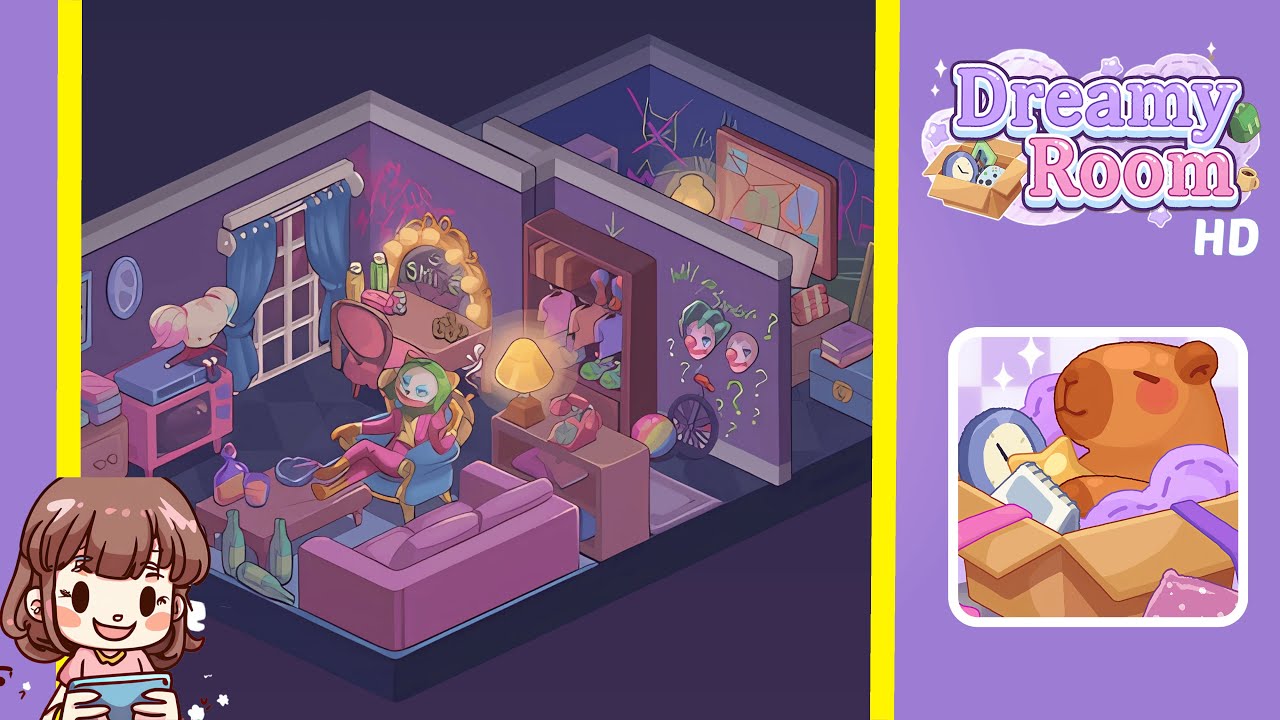
- Place the French doors and blue curtains on the left wall. Center the white-framed French doors horizontally on the long left wall, followed by the thick blue curtains on the rod above.
- Build the left utility stack: cabinet, boxes, pink unit, and wig head. Slide the two-drawer wooden cabinet against the left wall beneath the monochrome framed wall art. Stack two pink boxes on top, park the pink retro unit in front, and place a mannequin head with blonde pigtails atop, facing the room center.
- Lay the rug, coffee table, bottles, and the pink sofa. Center a pale blue rectangular rug in front of the French doors, place a wood coffee table on it, and top with two tumblers, a purple ashtray, and a bottle. Scatter two green bottles at the rug’s front-left, then position the lavender-pink sofa facing the coffee table with its right arm near the central partition.
- Seat the blue-gold armchair occupant and light the vanity corner. Angle the blue and gold armchair to face the coffee table, and seat the painted, clown-like figure. Install the pink vanity table with the "SMILE" mirror on the left back wall, place a pink chair, and arrange green/yellow bottles on top.
- Install the central side table, yellow lamp, console shelf, and rotary phone. Position the wooden side table at the partition’s inner corner with the yellow lamp. Align the low console behind the sofa and top it with a purple book and green rotary telephone.
- Assemble the open closet: wardrobe shelves, hanging clothes, and accessories. Build the wardrobe unit on the right of the partition, ensuring alignment with the wall trim. Place a multicolor ball front-right and lean a unicycle on the partition.
- Decorate the right-side back room: graffiti, string board, and desk lamp. Add neon-style graffiti on the far wall, mount a corkboard with connected strings on the right wall, and place a small yellow desk lamp.
- Finish with stacks, trunk, and leaning portrait. Stack two pink boxes in the back room near the door, lean a framed classic portrait against the outer wall, and place the blue trunk in front.
Notes & Precautions
- Pixel accuracy is crucial. Ensure all items, especially the vanity and lamp, maintain proper alignment.
- Follow the specific order of the left utility stack to adhere to the recognition rules.
- Maintain exact wall placements for the masks and graffiti to ensure completion.
- Keep the unicycle slightly separate from the ball to avoid overlap issues.
Tips & Tricks
- Build from fixed architecture outward for smoother placement transitions.
- Use lighting as a guide, ensuring the lamp’s cone falls on the armchair correctly.
- Balance is key: Ensure the vanity’s glow complements the conspiracy board’s lamp symmetry.
- Complete larger focal points first before adding smaller decor for better alignment.