Dreamy Room Level 184 Walkthrough
In Dreamy Room Level 184, you begin with nothing but a smooth, egg-shaped shell waiting to be filled with warmth and personality. This walkthrough will guide you step by step through transforming that empty space into a cozy, multi-layered haven. Follow each instruction carefully to solve the main challenge of Dreamy Room Level 184—finding the perfect spot for every object.
Step-by-Step Guide
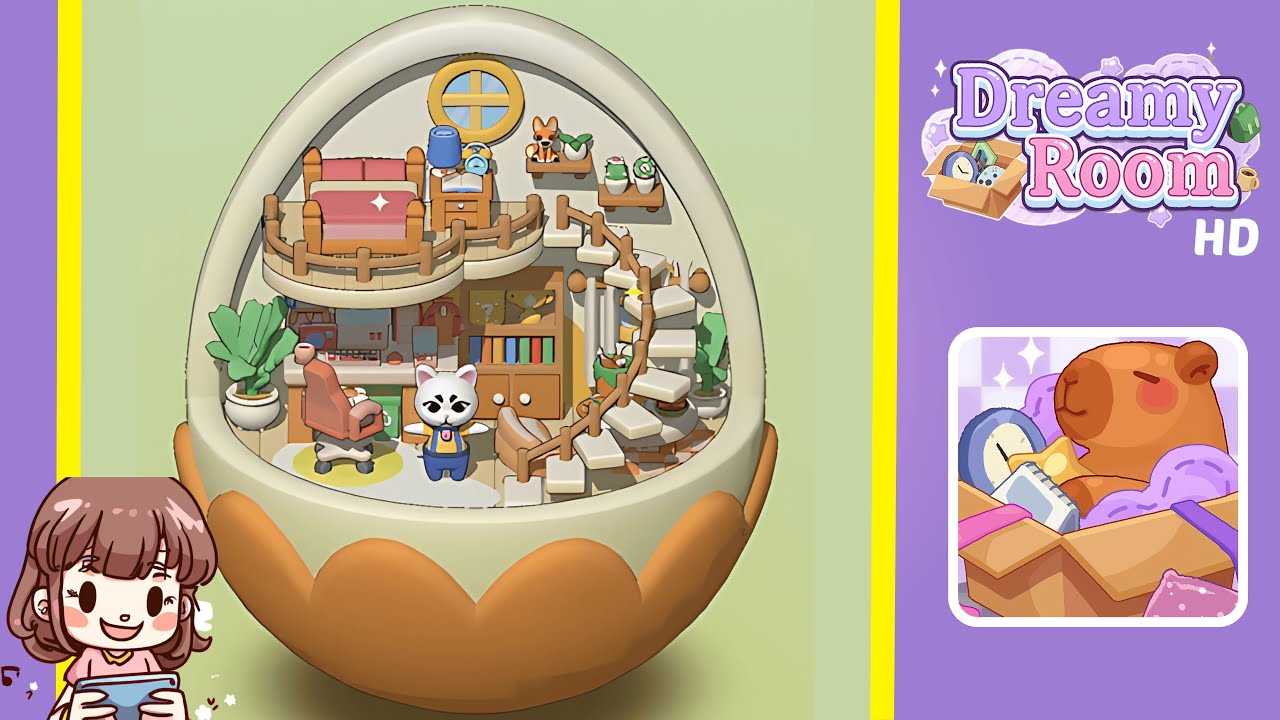
- Place the scalloped orange floor mat at the base of the shell. Select the large semicircular mat with its repeating scallop design and drag it into the center of the floor. Ensure each scallop curve aligns perfectly with the inner rim of the shell.
- Install the spiral staircase along the right interior wall. Choose the creamy white steps with wooden rail posts and position them against the right interior wall, aligning the bottom step flush with the scalloped mat’s right curve.
- Arrange the pink sofa bed on the upper mezzanine. Drag the two-seat pink sofa bed onto the raised platform directly opposite the staircase. The sofa’s backrest should nestle against the curved shell wall.
- Install the round yellow window and nightstand ensemble. Place the window centrally above the mezzanine sofa and then slide the wooden nightstand to the left of the sofa. Add a small blue lamp, the mint-green alarm clock, and the open book atop the nightstand.
- Mount the floating shelves and decorative accents. Position two wooden floating shelves on the upper right wall. Decorate the lower shelf with a corgi plush and a plant. Arrange two potted cacti on the upper shelf.
- Set up the workspace desk and electronics on the ground floor. Align the sturdy wooden desk flush with the back wall, centered beneath the mezzanine overhang. Arrange the monitor, keyboard, dual pink headphones, and a miniature microphone stand on the desk.
- Position the cat character and central coffee table. Place the white cat in a yellow vest and blue pants in front of the desk and set a small round coffee table with a pastel-striped rug underneath.
- Add the floor potted plants on either side of the room. Place a tall leafy plant in an ivory pot on the left side of the desk and a smaller succulent on the right side.
Notes & Precautions
- Alignment Matters: Even a one-pixel misalignment can cause objects to snap unexpectedly. Use grid-snapping aids for precision.
- Layer Order: Place floor objects before wall items to avoid overlap glitches.
- Collision Checks: Rotate the camera after every placement to verify no two objects intersect in 3D space.
- Undo Sparingly: Excessive use of undos can disrupt your sense of spatial relationships. Try minor manual adjustments first.
Tips & Tricks
- Batch Placement: Group similar items and place them roughly before fine-tuning positions to save time.
- Use Snap Zones: Activate “Snap to Wall” for perfect wall attachments without manual rotation.
- Shadow Guides: Toggle shadows on/off to spot floating objects you might otherwise miss.
- Preset Saves: Save a preset layout after completing major sections to be able to revert if subsequent placements misalign.